Dog Tail Tip Bleeding: First Aid, Causes & Stopping the Cycle
Dog Tail Tip Bleeding: Causes, First Aid, and How to Stop It from Recurring
A dog tail tip that is bleeding — whether from a single impact, repeated wagging, or self-chewing — requires specific first aid that differs from wound care for other body locations. Blood from a tail tip wound disperses dramatically during wagging, creating alarming spatter that often suggests a more severe injury than is actually present. This guide covers immediate first aid steps, how to evaluate wound severity, and the management approach that stops the bleeding cycle permanently.
Why Dog Tail Tips Bleed So Much
The tail tip has a surprisingly robust blood supply for its small size. The caudal arteries that run through the tail vertebrae branch at the tip into a dense capillary network. When the thin skin at the tip is broken, several small arterioles may be involved. Unlike a laceration on the trunk or limb, where surrounding tissue absorbs blood, the tail tip projects into open air. Each wag during active bleeding flings droplets across a wide radius — often reaching several feet.
This is why tail tip wounds look so alarming: the apparent blood volume is much larger than the actual blood loss. In most cases, the injury is superficial and the blood volume seen on walls is the result of many small droplets thrown at high speed, not significant hemorrhage.
Immediate First Aid for Tail Tip Bleeding
Step 1: Confine and calm the dog
Move the dog to a small, quiet room away from exciting stimuli. The goal is to reduce wagging immediately. Excited wagging dramatically increases blood loss from a tail tip wound. Have a second person hold the tail still if possible while you assess the wound.
Step 2: Apply direct pressure
Press a clean gauze pad or folded cloth firmly against the wound tip. Hold continuous pressure for 10 minutes without lifting to check. Lifting before the clot has formed disrupts the clotting process and extends the bleeding time. Set a timer.
Step 3: Assess the wound
After pressure is applied and bleeding has slowed, examine the wound carefully:
- Is the wound a split or abrasion of the skin surface? (minor — manageable at home)
- Is bone, cartilage, or white tendon tissue visible? (moderate to severe — vet required)
- Has bleeding not slowed after 10–15 minutes of pressure? (emergency — go to vet)
- Is the tail tip cold, pale, or discolored compared to the rest of the tail? (circulation concern — vet required)
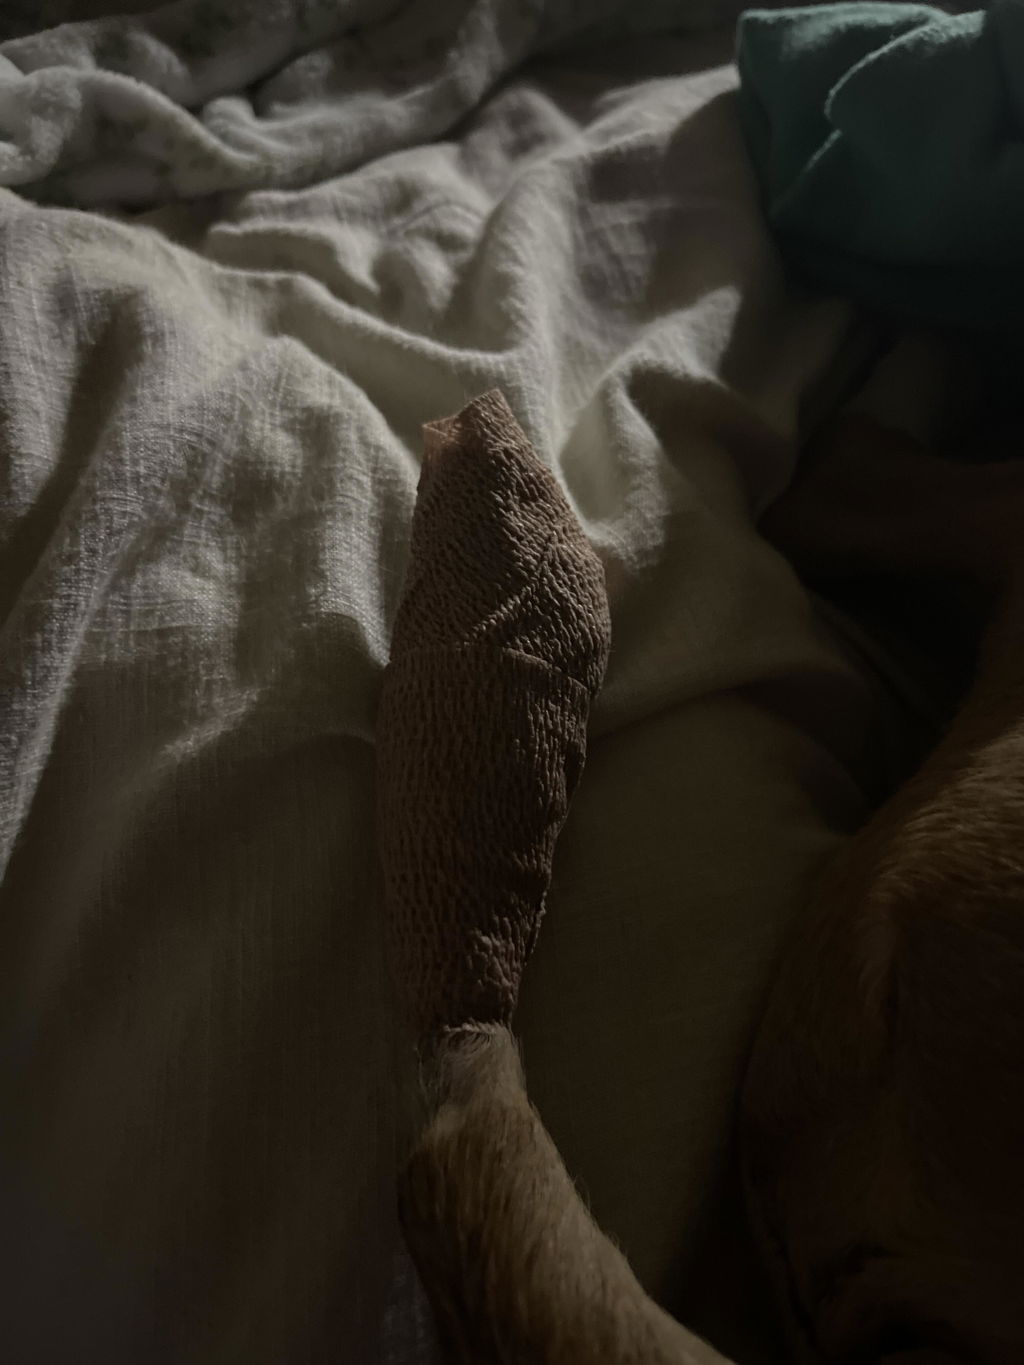
Step 4: Apply wound dressing
For wounds that are superficial and bleeding has slowed: apply a sterile non-stick pad (Telfa) over the wound. Do not use cotton balls, which shed fibers into the wound. Do not apply adhesive tape directly to the skin. The dressing is held in place by the protective sleeve described below.
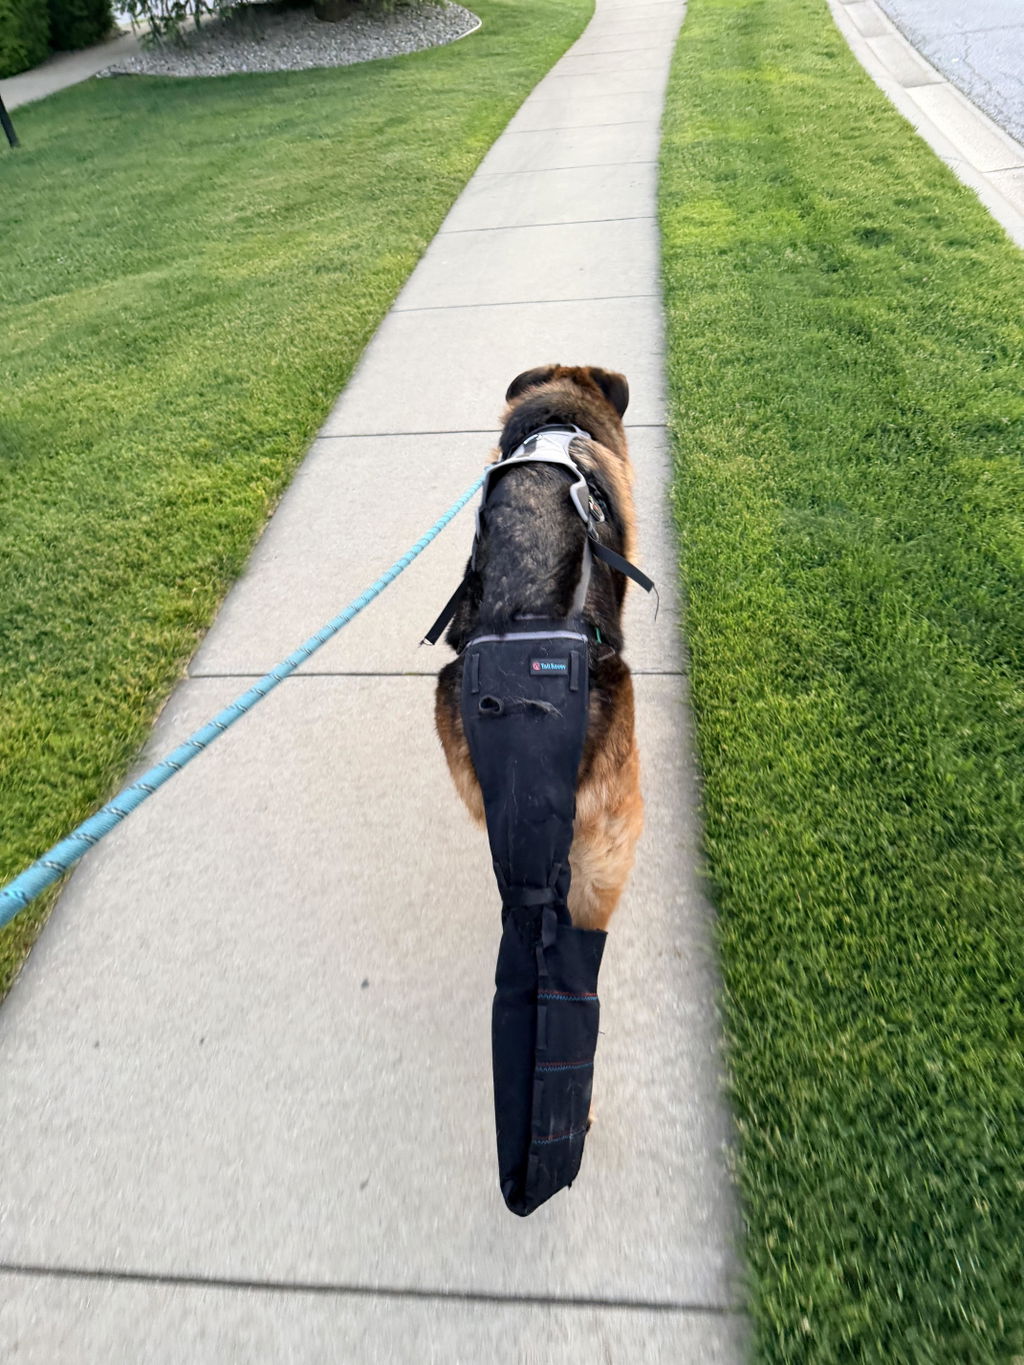
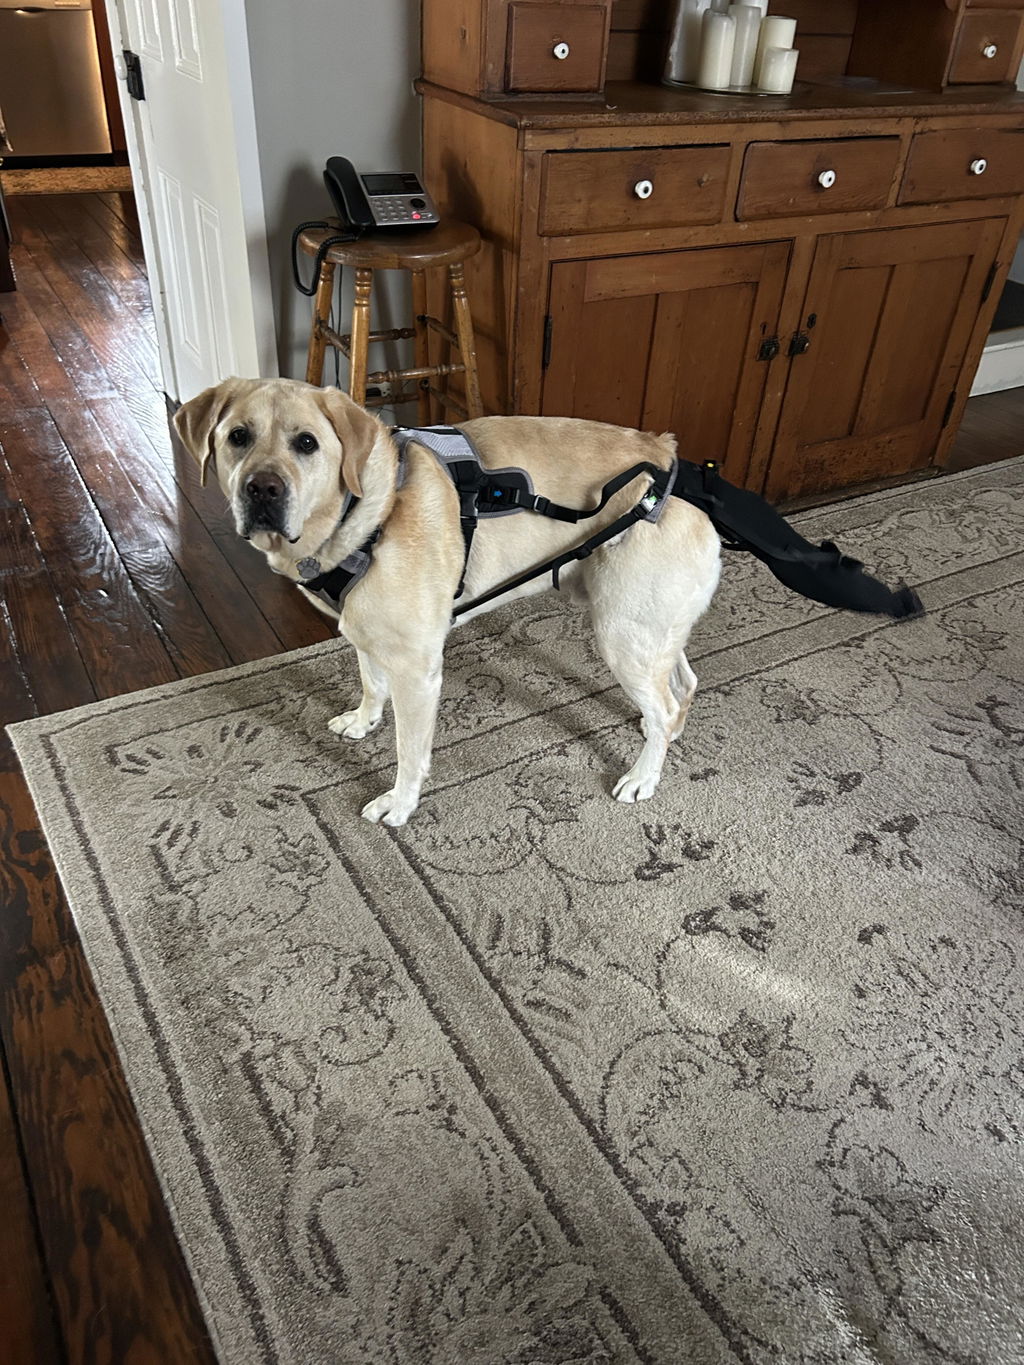
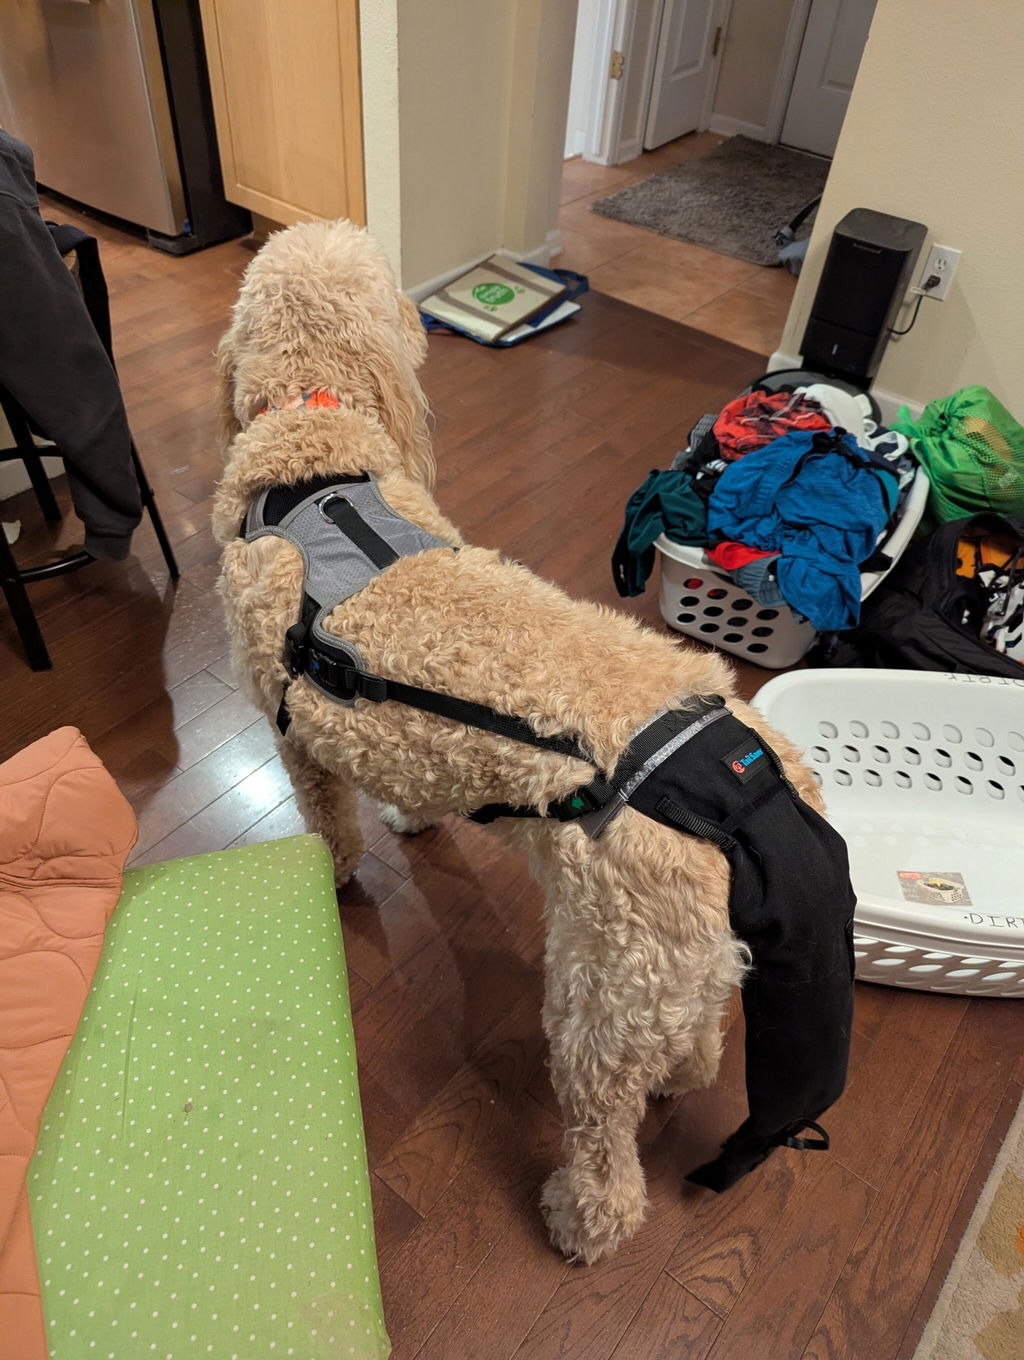
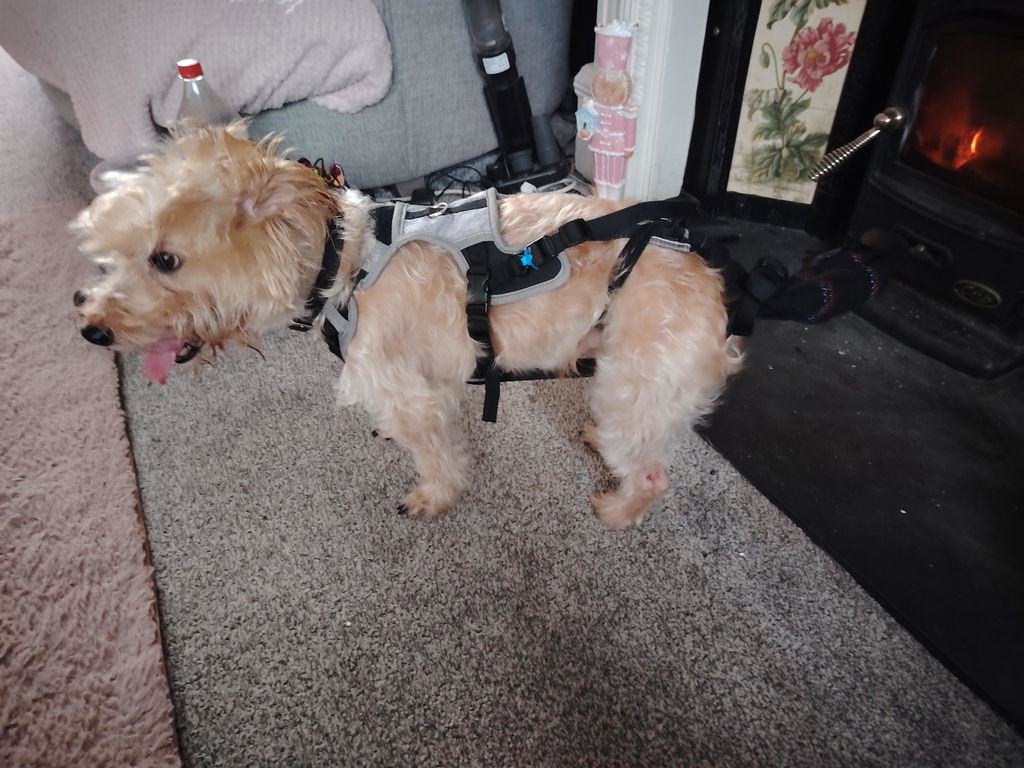
Step 5: Protect the wound from reinjury
This is the critical step that most owners miss. Once the wound is dressed, it must be protected from the next wag impact. Apply the K9 TailSaver® sleeve over the dressing. The padded canvas exterior cushions the wound against subsequent impacts; the body harness anchor keeps the sleeve in position through all activity.
Styptic Powder and Other Hemostatic Aids
Styptic powder (typically aluminum sulfate) can help control bleeding from very minor tail tip wounds. Apply a small amount with a damp gauze pad pressed gently to the wound surface. It stings and may cause a brief pain reaction. Do not pack styptic into deep wounds.
Cornstarch can be used as a home substitute for styptic powder in a pinch. It does not accelerate hemostasis but can assist light pressure management.
Silver nitrate sticks are effective for persistent minor bleeding at wound edges. They cauterize small bleeders on contact. These are available at pharmacies without prescription and are safe for superficial use when applied carefully.
When the Bleeding Comes Back: Breaking the Cycle
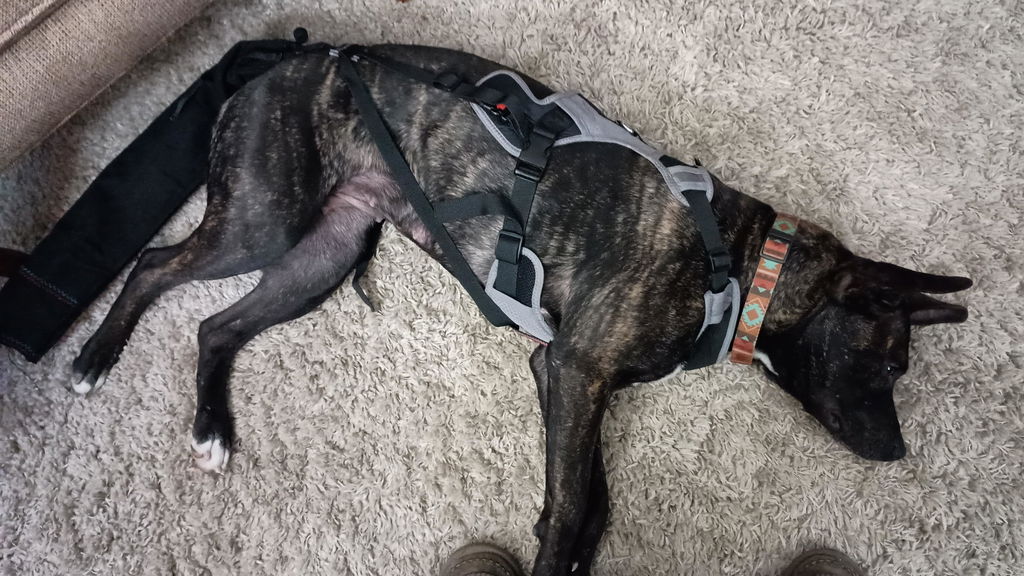
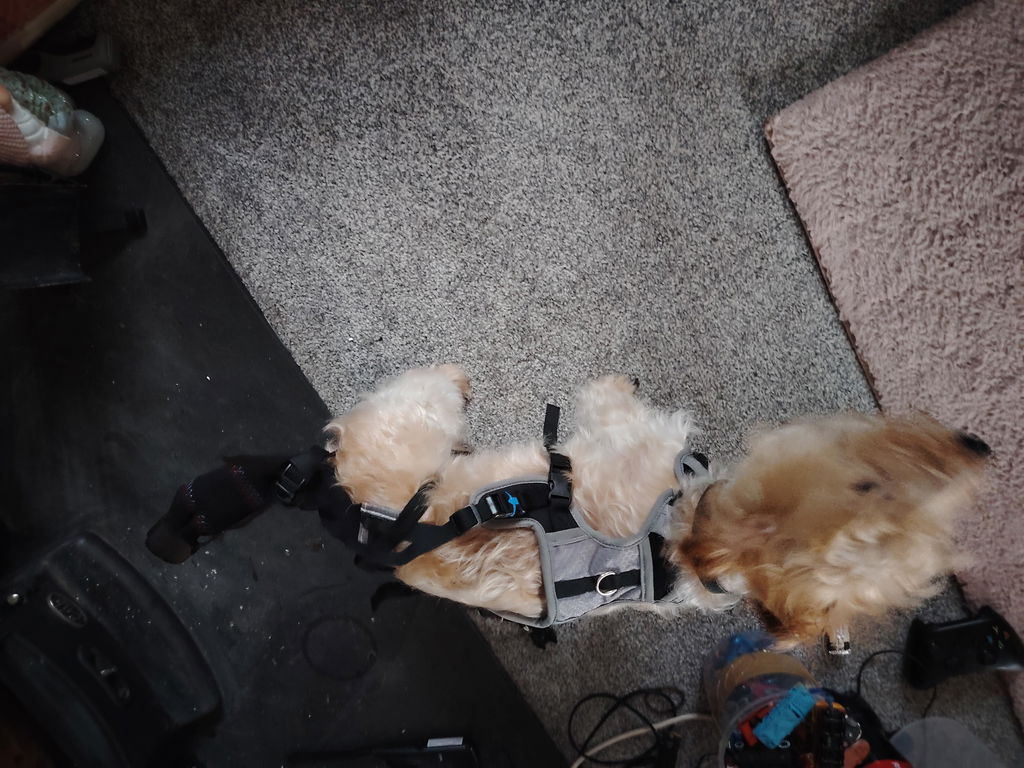
If the wound has been cleaned and bandaged but bleeding recurs within hours or days, the wound is cycling — partial healing during rest periods, re-injury during active or excited periods. This is the defining pattern of Happy Tail Syndrome.
Breaking this cycle requires continuous protection that remains in place through wagging, not just at rest. Standard bandage wraps fail at this because they are designed for stationary wound sites. The K9 TailSaver's harness-anchored design is specifically engineered to stay in position through the forces generated by an active, wagging tail.
Environmental Factors That Cause Repeated Tail Tip Injuries
- Metal crate bars: The most common impact surface for dogs in home environments. Upgrade to an X-pen or padded crate during recovery.
- Wall corners and door frames: Install foam corner protectors at dog tail height in high-traffic areas.
- Low furniture edges: Coffee tables, baseboards, and low cabinets create a gauntlet of impact surfaces for large-dog tails.
- Excitement triggers: Arrivals, visitors, feeding time, and play sessions produce peak-intensity wagging. Managing excitement during the healing period reduces re-injury frequency.
Tail Tip Bleeding FAQ
There is blood all over my walls. Is this an emergency?
Usually not, though it looks alarming. Assess the wound as described above. If
pressure slows the bleeding, bone is not visible, and the dog is otherwise alert
and comfortable, home management is appropriate. See the
Vet & Safety FAQ
for clear emergency thresholds.
The wound clots and looks fine, then bleeds again the next day. Why?
New wound scabs are fragile for the first 24–72 hours. A single vigorous
wag against a hard surface tears the new clot before it has had time to be
reinforced by new tissue below it. The wound needs physical protection
during this fragile early phase — not just rest.
My dog keeps licking the wound between bleeding episodes. Is that making it worse?
Yes. Licking mechanically removes scab tissue and introduces bacteria from the
mouth into the wound. It is a significant contributor to the non-healing cycle.
The K9 TailSaver sleeve prevents licking access in addition to providing
impact protection.
How long before a tail tip wound stops reopening?
With continuous harness-anchored protection, most simple tail tip wounds
stop reopening within 5–10 days. Full, skin-level healing takes
10–21 days. Chronic wounds (cycling for 2+ weeks) take 3–6 weeks
from the start of correct management.